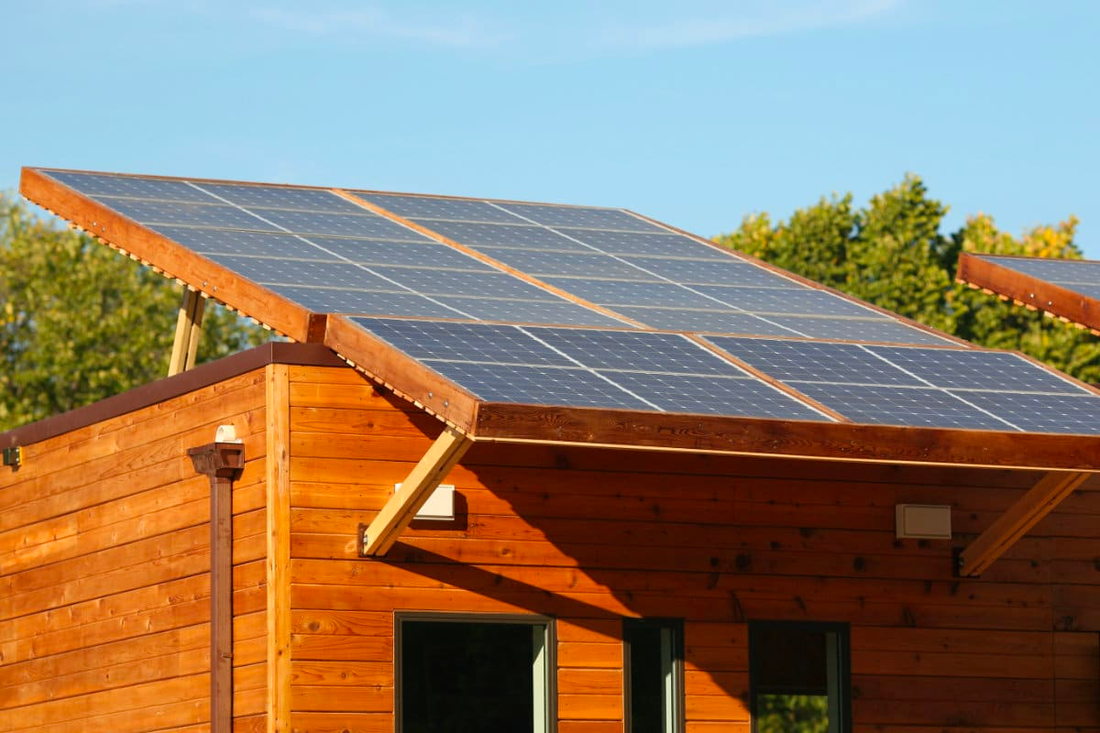
Building your own off-grid solar system can save you a lot of money compared to paying for a professional installation. Taking on a DIY solar project may seem challenging at first, but with the right guidance, you can navigate the process and enjoy the financial benefits. As you work on your solar setup, you'll gain a sense of pride and accomplishment from generating your own clean energy. Get ready to unlock the potential of off-grid solar and experience greater financial freedom.
Essential Equipment for Your Off-Grid Solar System
Before building your off-grid solar system, gathering all the necessary components and tools is crucial.
1. Core Components for an Off-Grid Solar Setup
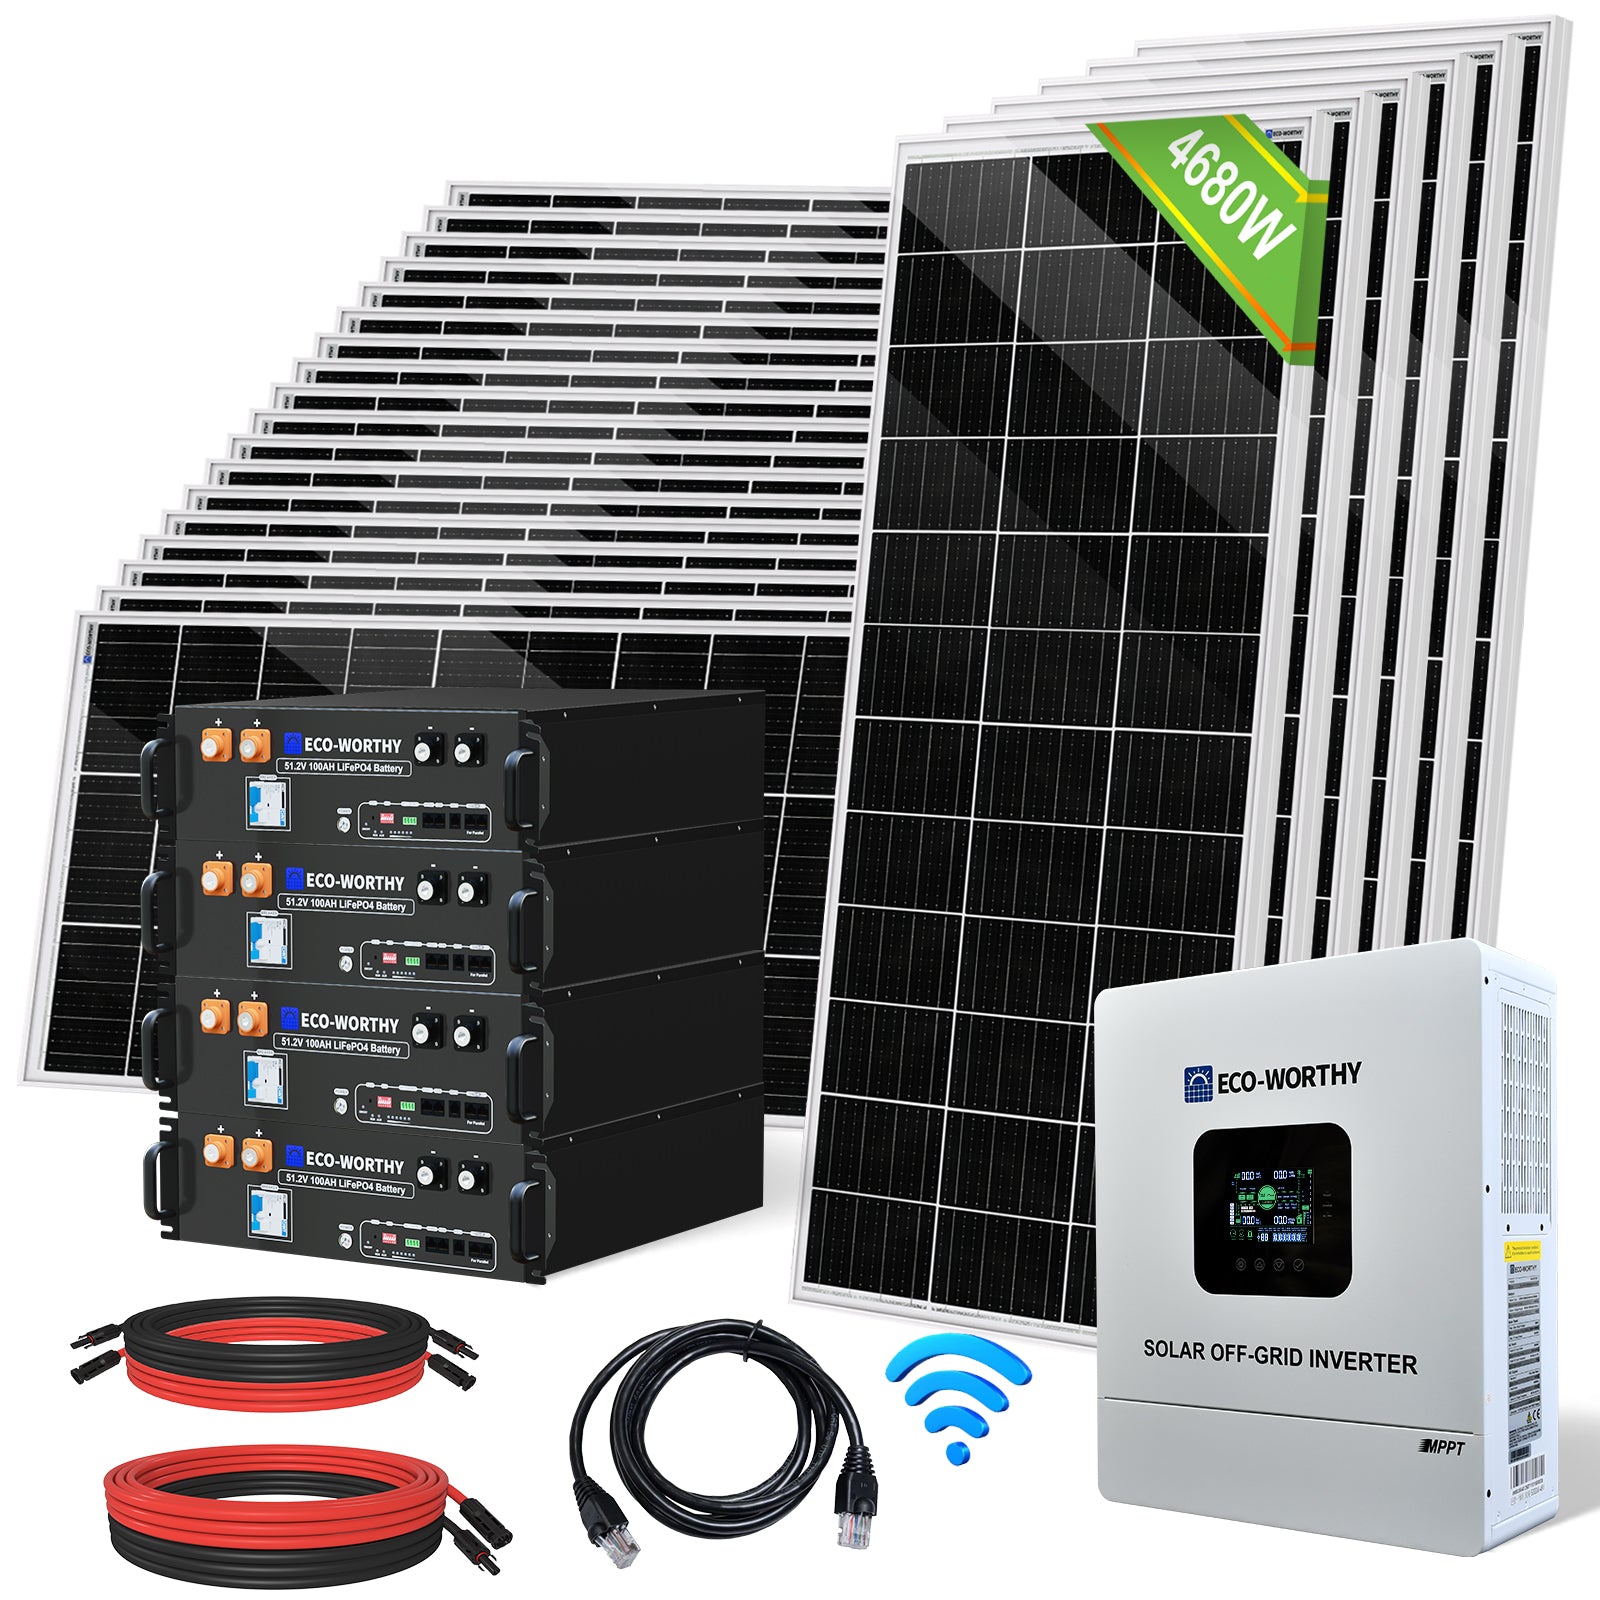
At the heart of your off grid solar system, you'll find four indispensable elements:
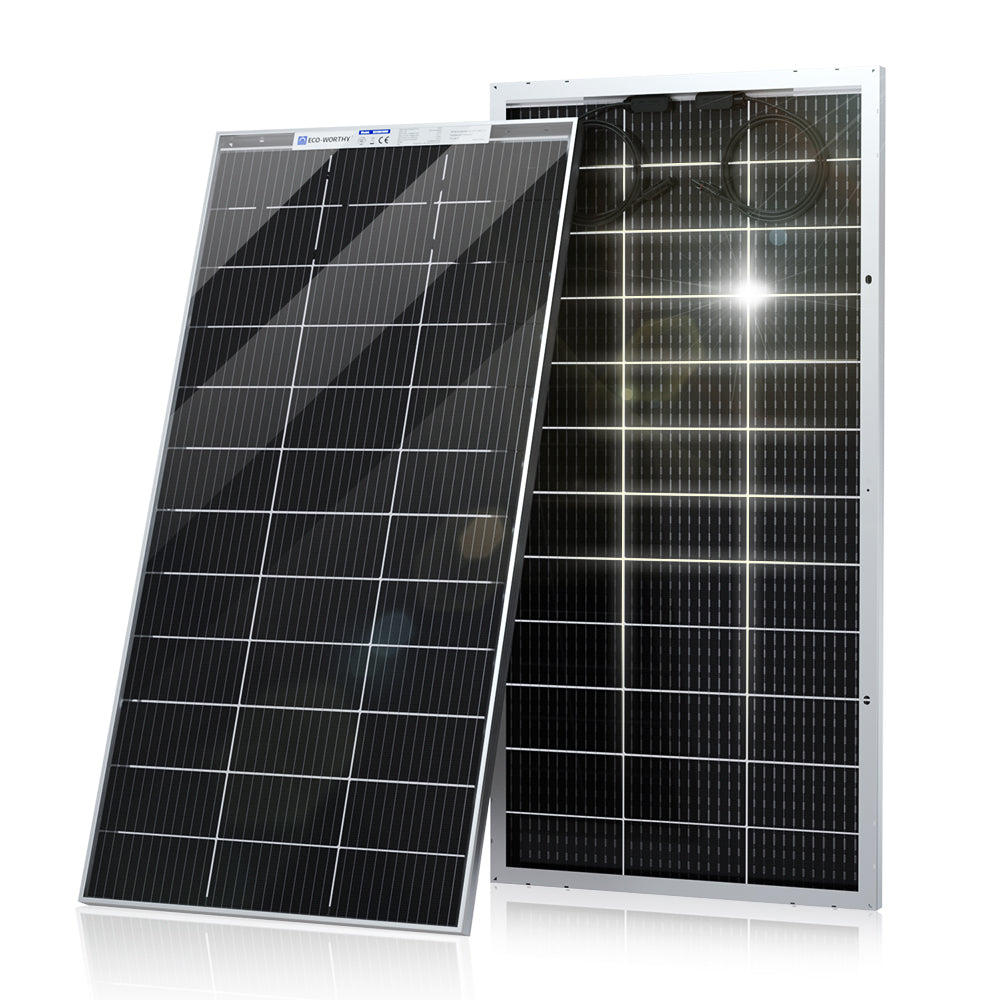
- Off-grid solar panels: These photovoltaic marvels convert sunlight into electricity, serving as the primary energy source for your system.
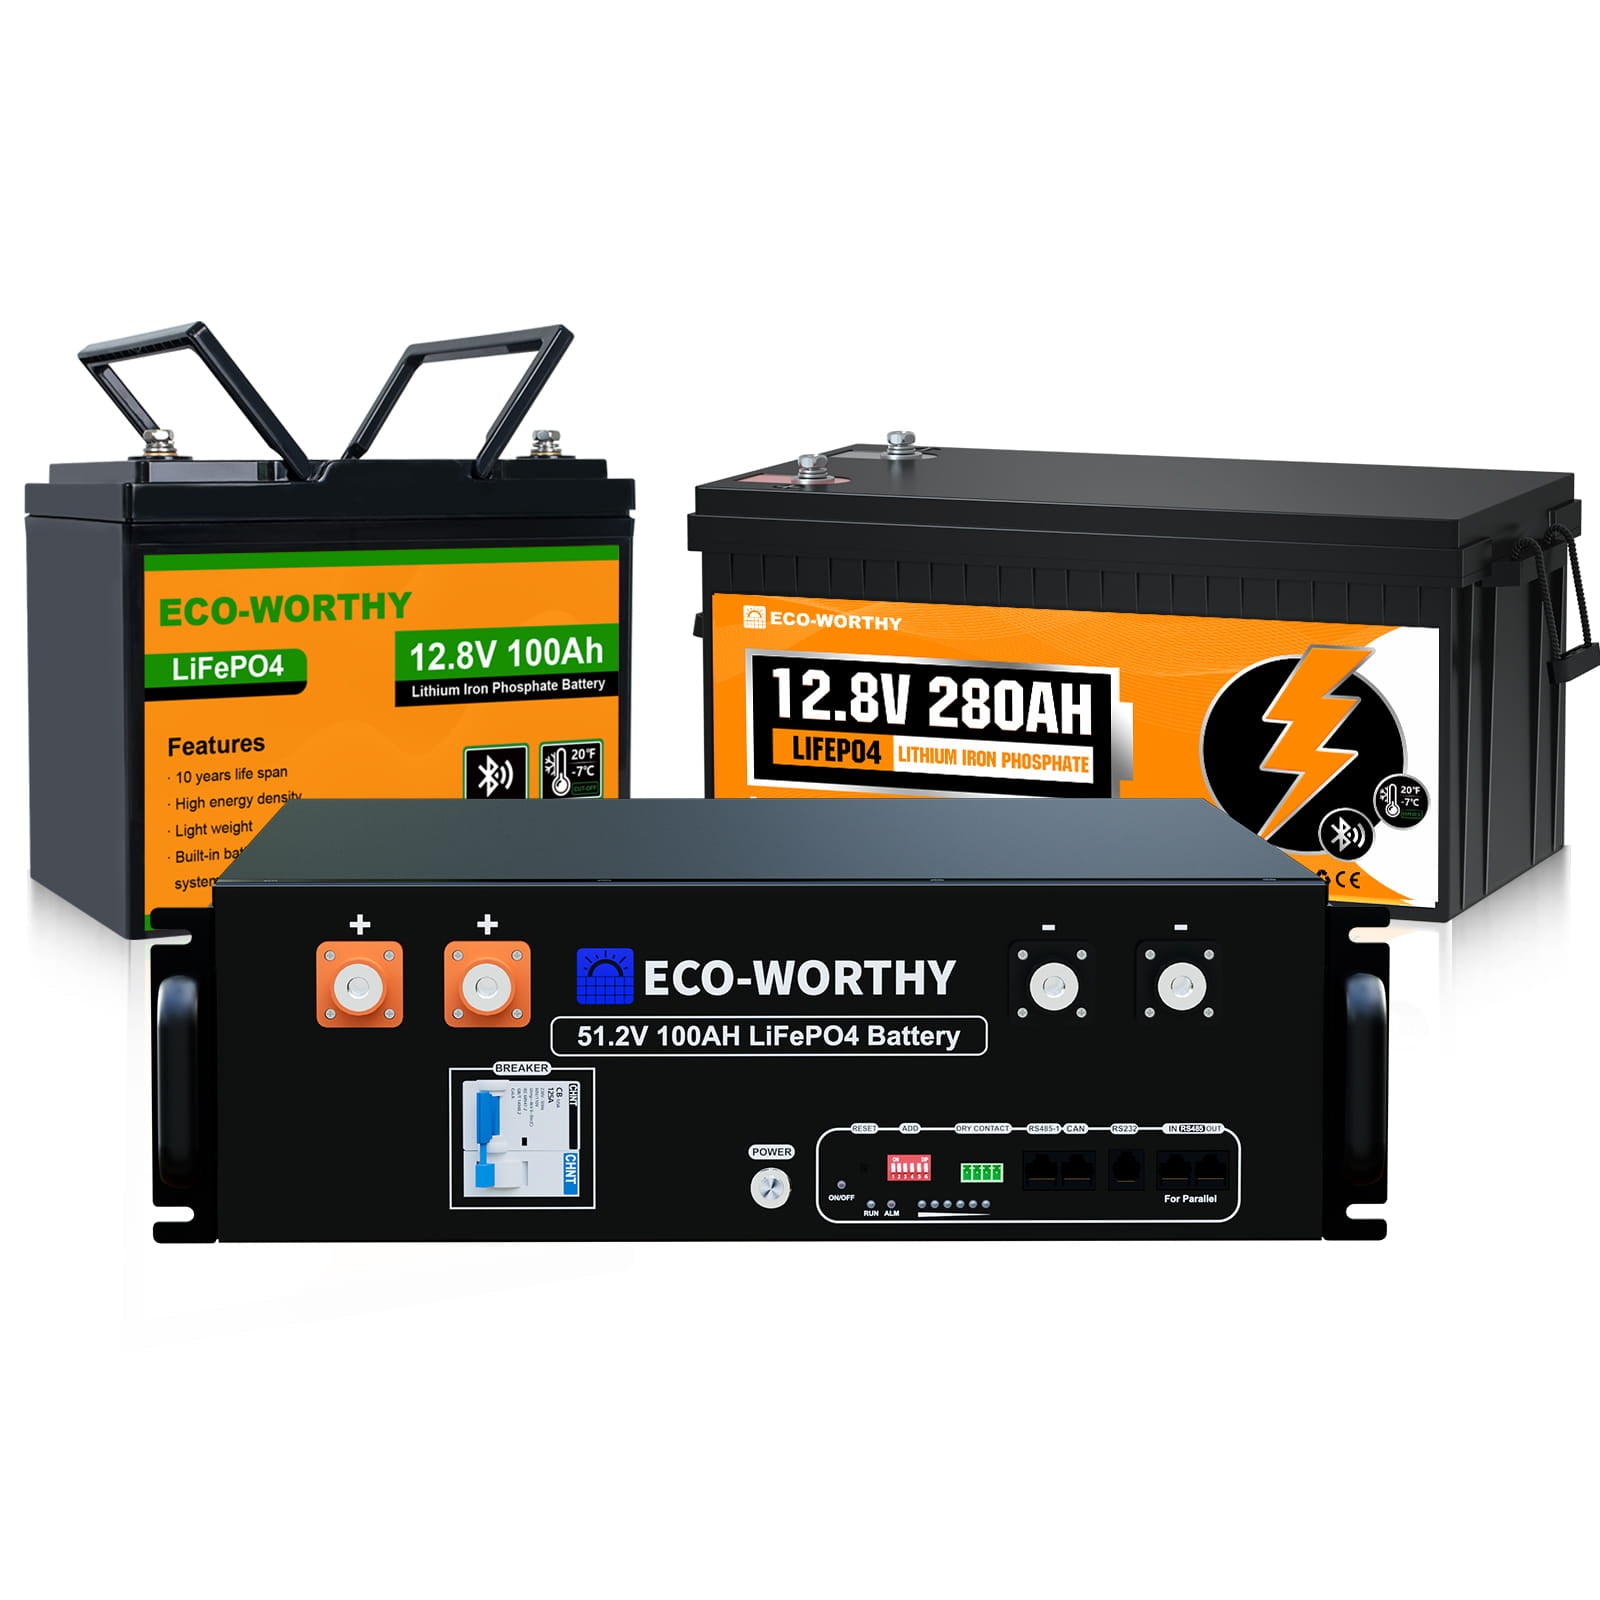
- Batteries: To store the energy generated by your solar panels for later use, you'll require a reliable battery bank.
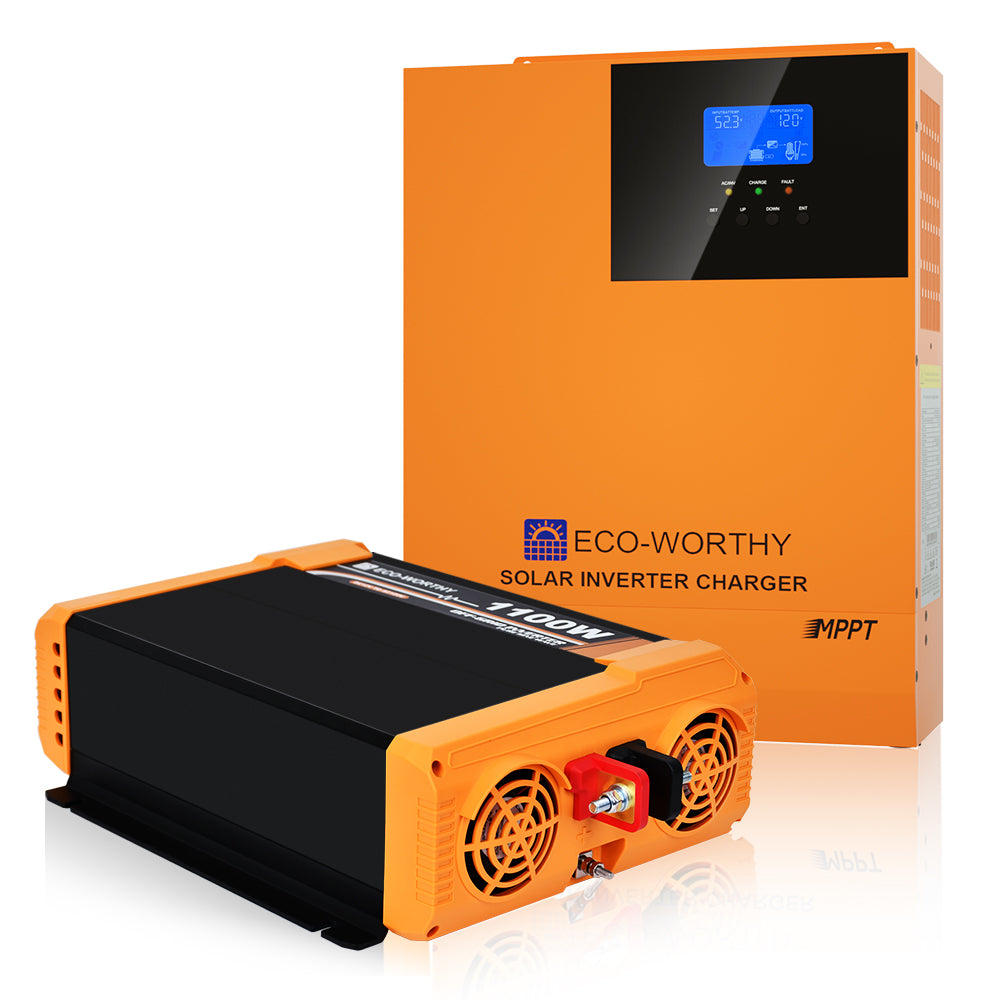
- Inverter: This device transforms the direct current (DC) electricity produced by your solar panels into alternating current (AC) power, which is compatible with most household appliances.
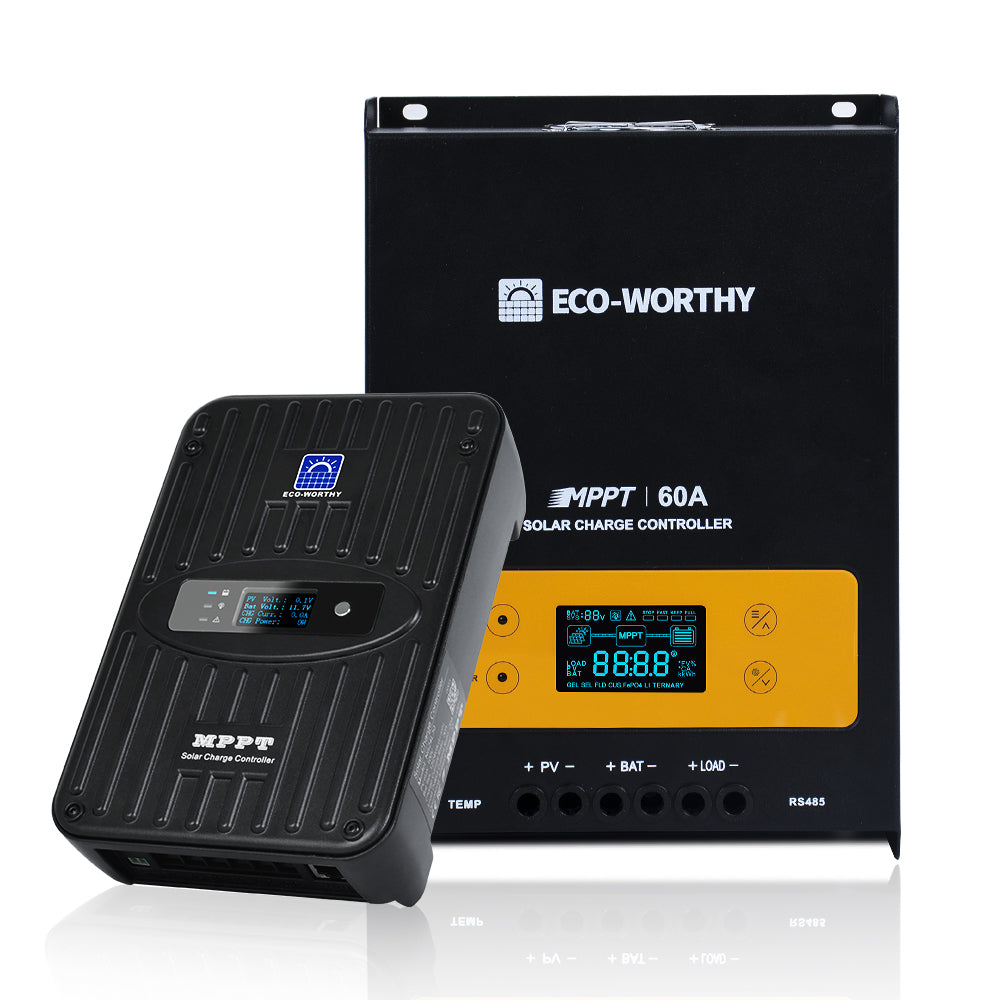
- Charge controller: Charge controllers regulate the flow of electricity from the off-grid solar panels to the batteries, preventing overcharging and ensuring optimal battery performance.
2. Supplementary Installation Tools and Accessories
In addition to the core components, you'll need an array of tools and accessories to facilitate a smooth installation process for your off-grid solar system:
- Wiring essentials: Stock up on an assortment of wires, connectors, junction boxes, and cable ties to establish secure electrical connections throughout your off-grid solar setup.
- Mounting equipment: Depending on your installation location, you may require mounting racks, brackets, or clamps to secure your off-grid solar panels in place.
- Safety gear and miscellaneous items: Don't forget to prioritize safety by investing in insulated gloves, protective eyewear, and a sturdy ladder. Additionally, keep items like a multimeter, voltage tester, and cable crimping tool on hand.
3. Toolbox Must-Haves for Assembling Your Off Grid Solar System
To round out your equipment arsenal for your off-grid solar project, make sure your toolbox includes these essential implements:
- Screwdrivers (flathead and Phillips)
- Pliers (standard and needle-nose)
- Wire strippers
- Utility knife
- Drill and drill bits
- Adjustable wrench
- Hammer
- Measuring tape
- Level
With these tools and components at your disposal, you'll be well-prepared to tackle the exciting challenge of building your own off-grid solar power system.
11 Steps to Building Your Off-Grid Solar Power System
1. Calculate Your Energy Needs
Make a list of all your electrical devices. Find the wattage of each device (usually listed on the device or in its manual) and multiply it by the number of hours you use it daily. Add up all these numbers to get your total daily energy use in watt-hours (Wh). Add 20% to this total to account for system losses.
2. Size Your Solar Panel Array
Divide your daily energy need (in Wh) by the number of peak sun hours in your area to determine the minimum size of your solar array in watts. For example, if you need 5000 Wh per day and you have 5 peak sun hours, you'll need at least a 1000-watt solar array.
3. Choose Your Batteries
Your battery bank should be able to store 2-3 days worth of energy. To calculate the battery capacity you need in amp-hours (Ah), divide your daily energy use by the battery voltage (typically 12V, 24V, or 48V). Lithium iron phosphate (LiFePO4) batteries are recommended for their long life and deep discharge capability.
4. Select Your Charge Controller
Choose an MPPT (Maximum Power Point Tracking) charge controller for better efficiency. The controller should be able to handle the maximum current from your solar array. To calculate this, divide your solar array wattage by the battery voltage and add 25% for safety.
5. Pick Your Inverter
Select an inverter with a continuous power rating that exceeds the total wattage of all devices you'll run simultaneously. The inverter should match your battery voltage and produce pure sine wave output for sensitive electronics.
6. Install Solar Panels
Mount your panels facing south if you're in the Northern Hemisphere (north if in the Southern Hemisphere). Tilt the panels at an angle equal to your latitude for best year-round performance. Use sturdy mounting brackets and follow the manufacturer's instructions.
7. Set Up the Battery Bank
Place batteries in a well-ventilated, temperature-controlled area. Connect batteries in series to increase voltage or in parallel to increase capacity, following the manufacturer's guidelines. Use thick cables designed for the expected current.
8. Connect the System
Follow this order: 1) Connect batteries to the inverter. 2) Connect batteries to the charge controller. 3) Connect solar panels to the charge controller. Use properly sized wires and fuses for each connection. Double-check polarity before making connections.
9. Install Safety Equipment
Place fuses or circuit breakers on all positive cables close to the battery. Install a properly sized grounding rod and connect all equipment to it. Use a lightning arrester on the solar panel circuit if in a lightning-prone area.
10. Test Your System
Turn on components one at a time, starting with the charge controller, then the inverter. Verify that the charge controller is charging the batteries and the inverter is producing AC power. Monitor the system closely for the first few days of operation.
11. Maintain Your System
Clean solar panels every 6 months or as needed. Check battery water levels monthly if using flooded lead-acid batteries. Inspect all connections annually and tighten if necessary. Monitor your energy usage and adjust the system if your needs change.
Technical Considerations and Guidelines
When building your off-grid solar power system, it's crucial to understand the technical aspects of wiring and component connections.
Series vs. Parallel Component Connections
When wiring solar panels or batteries, you'll need to choose between series and parallel connections. Series connections involve connecting components in a chain, increasing the voltage while maintaining the same current. Use series connections when you need to increase the system voltage to match your inverter or charge controller requirements. Parallel connections involve connecting positive terminals together and negative terminals together, increasing the current while maintaining the same voltage. Use parallel connections when you need to increase the system current to support higher-power appliances or faster charging. Often, you'll use a combination of series and parallel connections to achieve the desired voltage and current for your off-grid solar system.
Implementing a Correct Wiring Diagram
A correct wiring diagram is crucial for ensuring the safe and efficient operation of your solar power system. Use wiring diagrams specific to your components and system configuration, and consult manufacturer manuals, online resources, or professionals for accurate diagrams. Label all wires, connectors, and components clearly, using a consistent color-coding scheme to prevent errors and simplify maintenance. Double-check your wiring against the diagram before powering on the system, verifying that all connections are secure and free of shorts or loose wires. If you're unsure about any aspect of the wiring process, consult a qualified electrician or solar installer for guidance.
Power Your Life with Off-Grid Solar System
Building your own off-grid solar system is a rewarding way to save money, achieve energy independence, and help the environment. By carefully planning your system, selecting the right components, and following installation best practices, you can create a reliable and efficient setup. Prioritize safety, ask for help when needed, and enjoy the process. Start your off-grid solar journey today!

